DTF transfers by size let you organize an order around the finished dimensions required for each design. Instead of choosing a transfer size without context, start with the garment, intended print position, artwork proportions, and available decoration area.
Use DTF transfers by size when you already know the approximate dimensions needed for the project and want to order around those measurements.
What Are DTF Transfers by Size?
DTF transfers by size are ordered according to the dimensions required for an individual design. This is useful when the artwork and placement are already defined and you do not need to build several graphics into one gang-sheet layout.
When Does Ordering by Size Make Sense?
- You have one primary design.
- The intended print position is already known.
- You know the approximate width and height required.
- You need multiple copies of the same finished size.
- You want to keep each transfer separate rather than arranging a gang sheet.
Choose the Garment Before Finalizing the Transfer Size
The transfer should be sized around the actual garment and print location. A chest logo, front graphic, sleeve design, and back print can require different proportions even when the artwork itself is the same.
Check the Decoration Area
- Choose the garment.
- Select the print position.
- Measure the available decoration area.
- Decide how much visual space the artwork should occupy.
- Confirm the final transfer dimensions before ordering.
If you are still choosing the garment, review blank T-shirts before locking the transfer size.
Avoid Treating One Size as Universal
There is no single transfer dimension that fits every shirt, artwork style, or print position. The appropriate size depends on the garment, design proportions, intended wearer, and placement.
Instead of relying on a fixed size chart alone, compare the artwork against the real decoration area and confirm the dimensions visually before production.
Consider Artwork Proportions
Transfer width and height should preserve the intended proportions of the design. A wide logo, square graphic, and tall illustration may require different dimensions even if they are planned for the same garment area.
Check Before Ordering
- Correct artwork version selected
- Design proportions preserved
- Text remains readable at the intended size
- Garment color considered
- Placement confirmed
- Required quantity counted
Use Gang Sheets When You Have Multiple Sizes or Designs
Ordering by size is useful for straightforward individual transfers. If a project includes several graphics, repeated logos, or multiple finished dimensions, a gang-sheet workflow may be easier to organize.
Review DTF gang sheets when several transfers need to be grouped into one production plan.
Compare the Two Workflows
Transfers by size work well when each transfer can be ordered around a known finished dimension.
Gang sheets are more useful when multiple graphics, repeated designs, or several transfer sizes need to be arranged together.
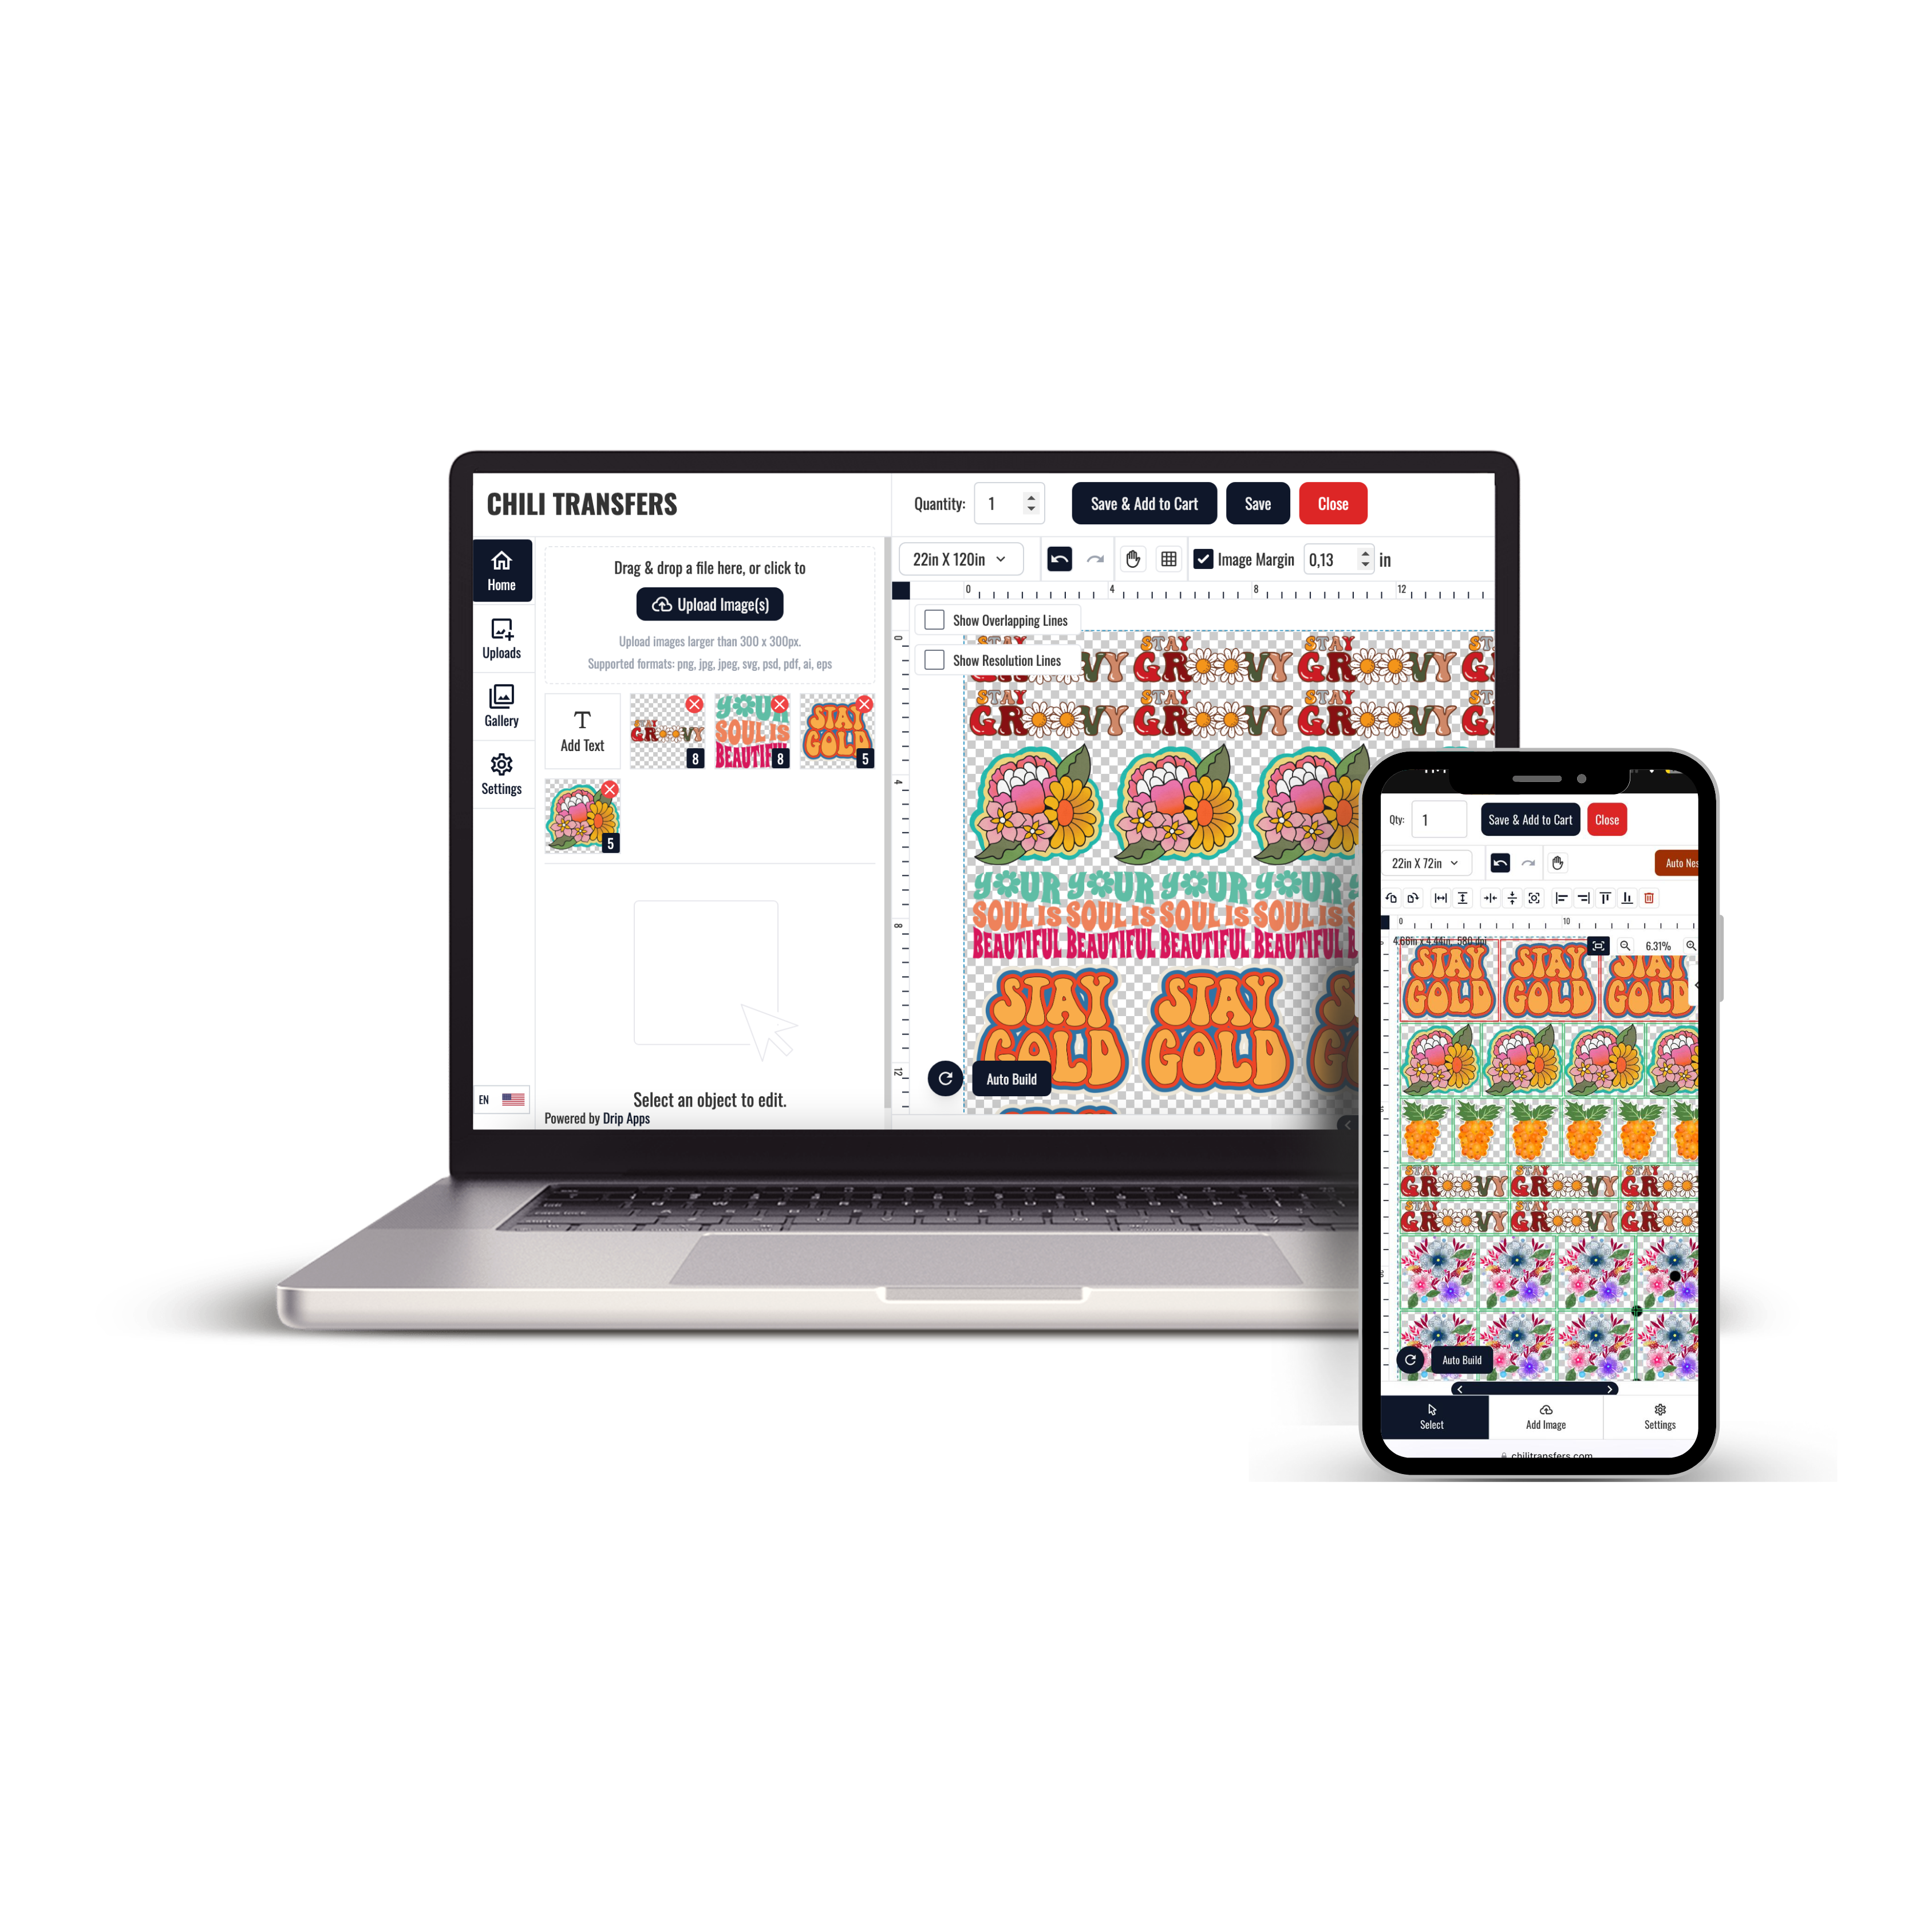
Use the Gang Sheet Builder for Multi-Design Layouts
If you decide that several designs should be arranged together, the DTF Gang Sheet Builder provides a separate route for organizing the layout.
Confirm every design, dimension, and quantity before building the final sheet.
Plan Repeat Orders With Consistent Dimensions
If the same design will be reordered later, save the approved dimensions together with the artwork file. This helps keep repeat production consistent and reduces the chance of unintentionally changing the size between orders.
Save These Details
- Approved artwork filename
- Finished transfer width and height
- Intended garment
- Print placement
- Typical quantity
Follow the Transfer-Specific Application Instructions
After the correct size is selected, apply the transfer according to the instructions provided for that transfer. Temperature, pressure, pressing time, and peel method should not be assumed to be the same across every DTF product.
Choose Size From the Finished Apparel Plan
The best DTF transfer size is the one that matches the actual garment, artwork proportions, and intended print position.
Start with the finished apparel requirement, measure the available decoration area, confirm the artwork dimensions, and then decide whether individual transfers by size or a gang-sheet workflow better fits the project.